

Vinyl Siding Canada
With years of experience serving homeowners across the Greater Toronto Area-from Hamilton and Burlington to Oakville, Niagara, Grimsby, and Stoney Creek-the professionals at Ontario Exterior Solutions understand that vinyl siding installation is one of the most impactful upgrades you can make to your home's exterior. Whether you're replacing aging siding or installing it for the first time, understanding the process helps you appreciate the craftsmanship involved and make informed decisions about your project. This guide walks you through the essential steps of vinyl siding installation, giving you insight into what proper installation looks like and why working with experienced contractors matters for your home's long-term protection and curb appeal.
By the end of this guide, you'll understand how vinyl siding is properly installed, what preparation is required, and the quality standards that distinguish professional work from amateur attempts. Whether you're considering a DIY approach or planning to hire professionals for your vinyl siding Canada project, this knowledge empowers you to oversee the work confidently and ensure your investment is protected.
Step 1: Inspect and Prepare the Exterior Wall Surface
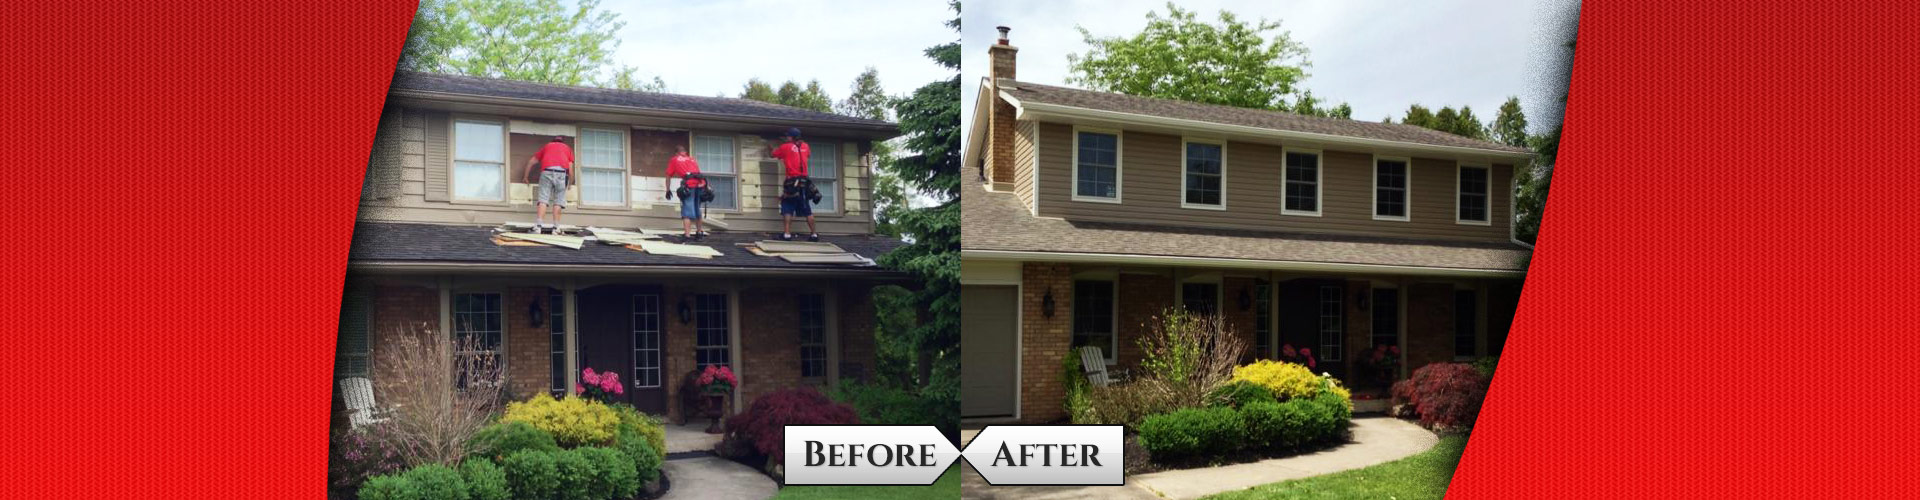
The foundation of any successful siding installation begins with thorough preparation. Before a single piece of vinyl siding touches your home, the existing wall surface must be carefully inspected and prepared. Remove any old siding, trim, and debris down to the structural sheathing or substrate. This exposes any underlying damage-rotted wood, water infiltration, or structural issues-that must be addressed before new siding installation begins. Ignoring this step is where many amateur installations fail; hidden damage compounds over time and can compromise the integrity of your entire exterior.
Once the wall is bare, inspect the sheathing for moisture, rot, or soft spots. Replace any damaged sections with quality plywood or oriented strand board (OSB) that meets building code standards. Ensure the wall surface is clean, dry, and as flat as possible. This preparation step typically takes longer than homeowners expect, but it's non-negotiable for vinyl siding Canada installations that will last decades without premature failure. At Ontario Exterior Solutions, we never rush this phase-proper preparation is what separates lasting installations from jobs that fail prematurely.
Step 2: Install Moisture Barrier and Proper Underlayment
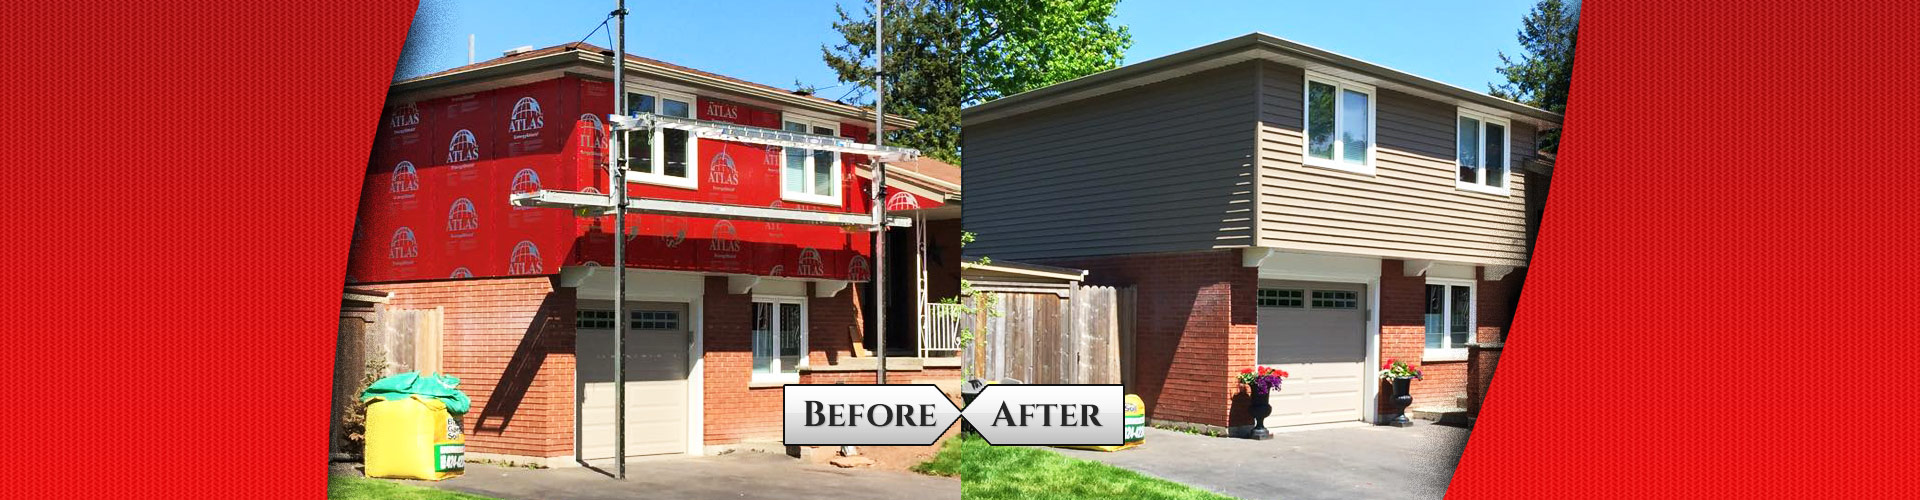
After wall preparation, the next critical layer is moisture protection. Install a quality house wrap or moisture barrier over the entire wall surface. This breathable membrane allows interior moisture to escape while preventing external water penetration. Overlap all seams by at least 6 inches and seal them with compatible tape. Many installers cut corners here, but moisture management is what protects your home's framing from rot and mold growth. A proper moisture barrier is your wall's insurance policy against the Ontario climate's seasonal temperature and humidity fluctuations.
Some regions and specific applications require felt underlayment in addition to house wrap-consult local building codes for your area in the Greater Toronto Area. Install any necessary flashing around windows, doors, and other penetrations before installing underlayment, ensuring water is directed away from vulnerable areas. This layering system creates a weather-tight envelope that keeps your home protected regardless of wind-driven rain or ice damming conditions common to Canadian winters.
Step 3: Install Starter Strip and Establish Layout
With the moisture barrier in place, installation of the vinyl siding itself begins with the starter strip-a specialized track that runs horizontally along the bottom of the wall where the first course of siding will lock in. This starter strip is absolutely critical; it anchors the entire installation and must be perfectly level. Use a quality level and snap chalk lines to ensure the starter strip runs true around the entire perimeter of your home. Any deviation from level will compound as you work upward, creating visible gaps, misalignment, and improper water shedding.
Before fastening, establish your layout by measuring from top to bottom. Plan your courses so that the top course under the soffit is approximately the same width as courses below it-avoiding awkwardly thin slivers at the roofline. Many vinyl siding Canada installations benefit from professional planning that accounts for existing trim, windows, and architectural features. Mark your layout with chalk lines to guide installation. This planning phase prevents the frustration of reaching the top of your wall only to discover misalignment that compromises the finished appearance.
Step 4: Fasten Siding Panels with Proper Technique
Fastening vinyl siding correctly is where technique truly matters. Use corrosion-resistant fasteners-galvanized or stainless steel nails or screws-appropriate to your climate zone. Drive fasteners through the nail slots in the siding's nailing flange, never through the body of the panel. Leave approximately 1/16 inch of clearance between the fastener head and the siding; this allows the panel to expand and contract with temperature changes. Tight fastening is one of the most common installation mistakes-vinyl expands and contracts significantly, and tight fasteners create buckling, warping, and premature failure.
Space fasteners approximately 16 inches apart along the nailing flange. Use a slight downward angle when driving fasteners to ensure proper engagement without over-tightening. Each panel should hang freely on the fasteners, able to move slightly side to side. This flexibility is not a defect-it's essential for vinyl siding Canada's longevity through freeze-thaw cycles and seasonal temperature swings. Work from bottom to top, ensuring each course is locked properly into the course below before fastening the next course.
Step 5: Cut, Fit, and Install Around Openings and Trim
As you progress up the wall, you'll encounter windows, doors, corners, and other openings. Vinyl siding must be carefully cut and fitted around these features using proper trim and flashing. Never force siding panels into tight spaces; use appropriately sized trim accessories including inside corner posts, outside corner posts, J-channel, and undersill trim. These components protect edges and create neat, professional transitions. Use a fine-toothed saw or specialized vinyl siding cutter for clean cuts-rough cuts weaken the material and create poor aesthetics.
Around windows and doors, ensure siding butts firmly against J-channel trim without gaps that allow water infiltration. Flashing should direct water away from openings and down the wall surface. This detailed work requires precision and understanding of how water flows across your home's exterior. Improper fitting around openings is where many homeowners develop water problems months or years after installation.
Step 6: Complete Top Course and Install Finishing Trim
As you approach the roofline, the final course of vinyl siding requires special attention. The top course must fit securely against undersill trim or the soffit, leaving appropriate expansion room. Some installers use trim coil or aluminum trim to create a clean, finished appearance where siding meets the soffit and fascia system. At Ontario Exterior Solutions, we ensure the roofline transition is as polished as the rest of the installation-details matter whether you're working on a home in Hamilton, Burlington, Oakville, or any surrounding area in the Greater Toronto Area.
Install all corner trim, trim coil, and finish pieces to create a cohesive, professional appearance. Caulk should only be used at trim-to-trim transitions, never applied behind vinyl siding panels. Inspect the entire installation for proper alignment, secure fastening, and clean transitions. The finished result should be straight, level, and free of visible gaps or misalignment.
Frequently Asked Questions
What is the lifespan of vinyl siding in Canada?
Quality vinyl siding typically lasts 20-40 years depending on climate, installation quality, and maintenance. Canadian winters with freeze-thaw cycles can accelerate degradation if siding is improperly installed or low quality. Professional installation with proper fastening and moisture barriers significantly extends longevity.
Is vinyl siding Canada energy efficient?
Vinyl siding itself provides minimal insulation value, but when paired with quality underlayment and proper installation, it creates a weather-tight thermal envelope that prevents air infiltration. For maximum energy efficiency, consider insulated vinyl siding products that include foam backing.
How much does vinyl siding installation cost in Ontario?
Costs vary based on home size, complexity, material grade, and local labor rates across the Greater Toronto Area. Working directly with owner-operated contractors eliminates middleman commissions, allowing you to invest more in quality materials and craftsmanship rather than sales overhead.
Can vinyl siding be installed over existing siding?
Installing over existing siding is sometimes possible but not recommended by professional standards. The underlying wall must be inspected for damage before installation. Direct contact with the substrate allows early detection of moisture problems and ensures proper installation longevity.
What maintenance does vinyl siding require?
Vinyl siding requires minimal maintenance-primarily periodic cleaning with mild soap and water to remove dirt and mildew. Avoid high-pressure washing that can force water behind siding. Inspect caulk and trim annually to ensure water sealing integrity remains intact.
Should I hire professionals for vinyl siding installation?
Professional installation ensures proper moisture management, correct fastening technique, and compliance with building codes. Installation mistakes are difficult and expensive to correct after completion. Experienced contractors bring knowledge of climate-specific requirements essential for vinyl siding Canada installations that protect your home for decades.